Home · Guides · Jul 31, 2026 · 11 min
How to Edit AI Headshots: Best Tools to Fix, Enhance & Perfect Your AI Portrait
You finally got your AI headshots back — but something's off. Maybe the skin tone looks a little plastic, the background screams "stock photo," or you're wearing an outfit you'd never pick in real life. Sound familiar? Here's the thing:…
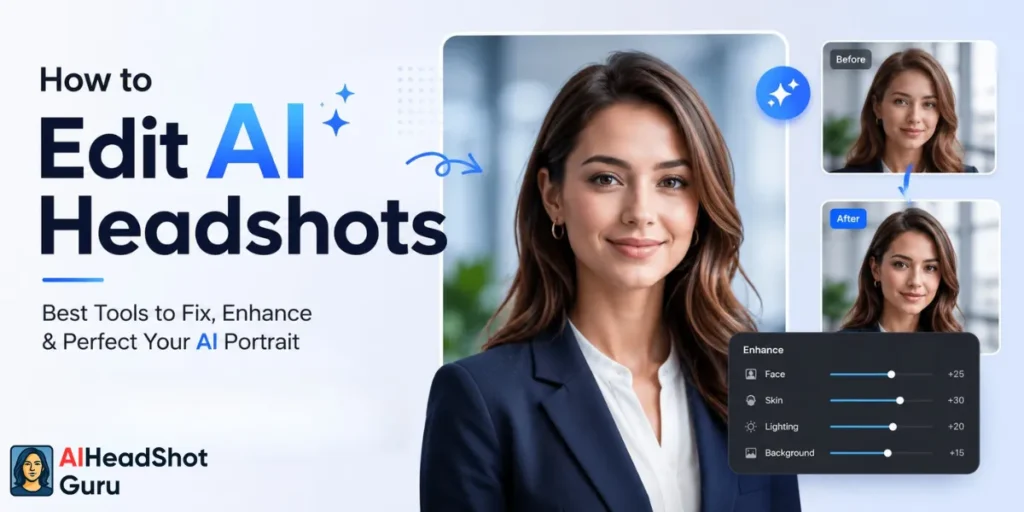
You finally got your AI headshots back — but something’s off. Maybe the skin tone looks a little plastic, the background screams “stock photo,” or you’re wearing an outfit you’d never pick in real life. Sound familiar?
Here’s the thing: getting an AI-generated headshot is only step one. Knowing how to edit AI headshots is what separates a portrait that gets ignored on LinkedIn from one that actually makes people stop scrolling.
This guide covers everything — from built-in editing tools inside platforms like BetterPic and Aragon, to third-party fixes using Lightroom, Canva, and Adobe Firefly. Plus, the most common AI headshot problems and exactly how to fix them.
Quick Comparison: Best AI Headshot Editing Tools
| Tool | Best For | Key Edit Features | Free Option |
|---|---|---|---|
| BetterPic AI Studio (BP AI Edit) | All-in-one post-generation edits | Background swap, clothing change, skin corrector, eye color, magic eraser, human edit | Credits included with plan |
| Aragon AI Free Editing Tools | Style customization after generation | Background changer, clothing changer, hair editor, pose editor | Free credits for new users |
| Adobe Lightroom | Color correction & skin tone | Tone curves, HSL sliders, masking, healing brush | Paid (mobile free) |
| Canva | Quick background swap, text overlays | BG Remover, Magic Edit, AI image tools | Freemium |
| Adobe Firefly | Generative background fill, clothing fix | Generative fill, text-to-image inpainting | Credits-based |
| Photoshop (with AI) | Advanced retouching | Neural filters, content-aware fill, liquify | Paid |
| Fotor / Pixlr | Fast online fixes | Skin smoothing, blemish removal, portrait enhancer | Freemium |
Why AI Headshots Almost Always Need Some Post-Editing
AI headshot generators are impressive — but they’re not perfect out of the box. Even the best platforms occasionally produce results with slightly off skin tones, mismatched accessories, stiff-looking backgrounds, or AI artifacts around the hairline.
The most common issues that push people into AI headshot post-processing:
The good news? Most of these are fixable in minutes using the right tools.
BetterPic AI Studio: The Most Complete Built-In Editor
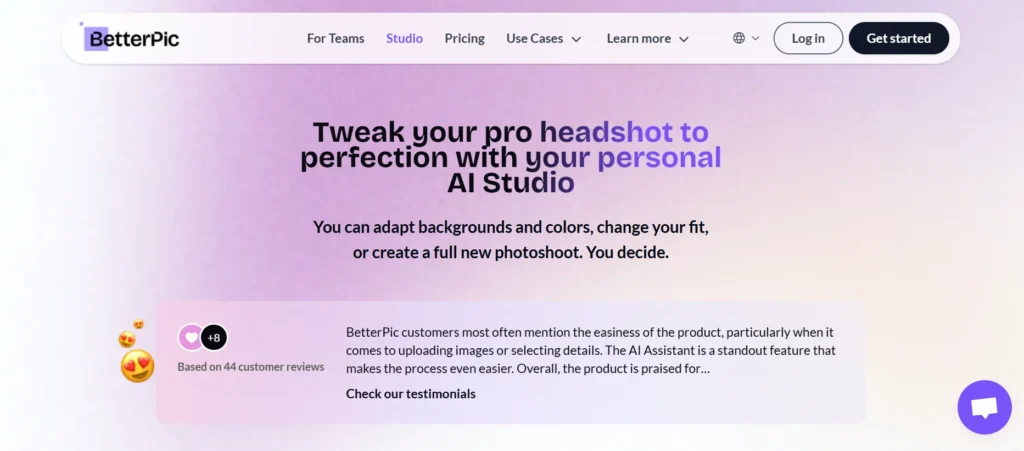
If you used BetterPic to generate your headshots, you already have access to one of the most powerful built-in editors in the AI headshot space. It’s called BP AI Edit, and it lives inside your personal AI Studio dashboard.
What BP AI Edit Can Do
Here’s the full list of editing options available inside BetterPic’s AI Studio:
How to Use BP AI Edit: Step-by-Step
- Log into your BetterPic dashboard
- Hover over the headshot you want to fix
- Click “BP AI Edit”
- Choose your edit type from the left panel (e.g., Clothing, Background, Skin Corrector)
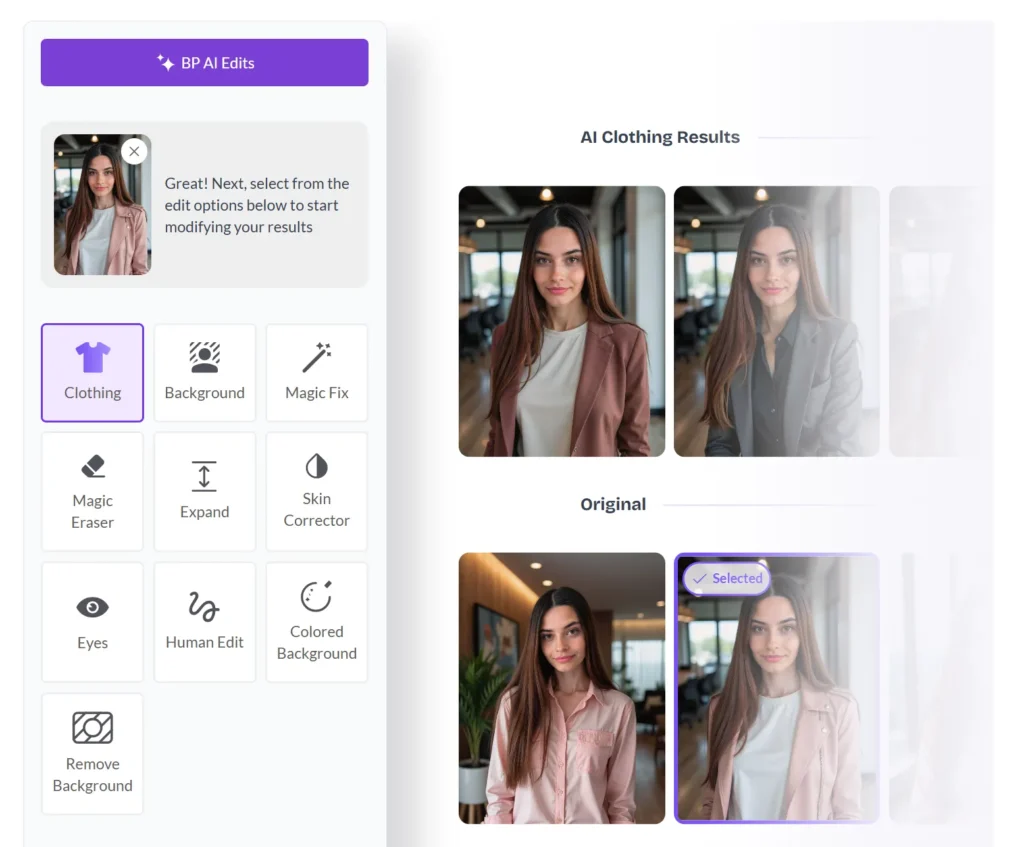
- Apply your selection and hit “Generate Photos”
- Wait for processing — new versions appear in your dashboard
- Download your preferred result
Important: Each edit uses credits. Basic plans include 2 credits, Pro plans include 4, and Expert plans include 8. Additional credits can be purchased from the dashboard.
When to Use the Human Edit Feature
The Human Edit option is BetterPic’s ace card — and it’s only available on the Expert plan. Instead of AI-generated corrections, a real human editor (working in Photoshop or a similar tool) manually fixes your image based on your instructions.
Use it when:
Save 10% on BetterPic Professional Headshots
Use this BetterPic coupon to get 10% off and unlock polished AI headshots with advanced editing features like Magic Fix, Magic Eraser, and realistic background customization.

Verified
109 uses today
Use Code 🎁
AFFMAVEN
Aragon AI: Free Editing Suite for Style Customization
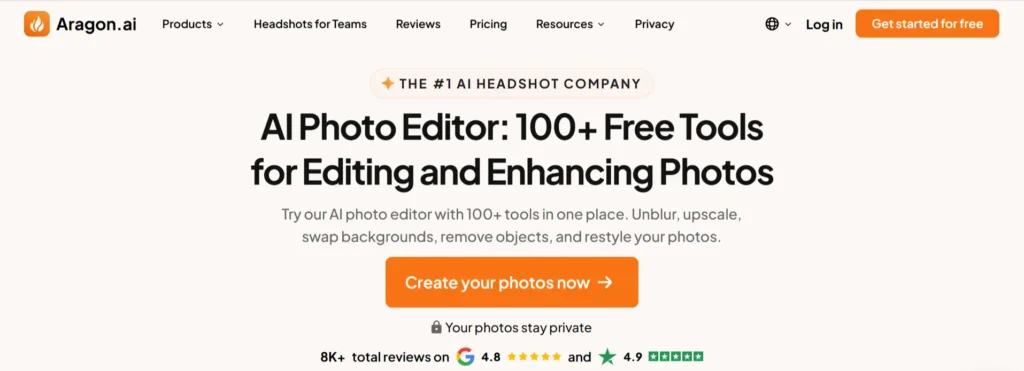
Aragon gives every user access to a free editing toolkit after generation — no extra credits required for new users. It’s less about fixing technical errors and more about personalizing your AI portrait for different use cases.
Aragon’s Four Core Editing Tools
Background Changer
Switch between studio neutrals, office environments, outdoor settings, or custom brand colors. Ideal when your headshot needs to match the vibe of a specific platform — a crisp gray for LinkedIn, something warmer for a personal portfolio.
Clothing Changer
Try business formal (suits, blazers), smart casual (button-downs, sweaters), creative professional, or industry-specific attire without a new shoot. This is the fastest way to get multiple versions of your headshot for different job applications or brand contexts.
Hair Editor
Update hair color, length, styling, or grooming — especially useful if your hair has changed since you uploaded your source photos, or if the AI generated a style that doesn’t match your real look.
Pose Editor
Switch between standard professional, approachable, confident executive, and dynamic creative poses. A subtle angle change can completely shift the energy of your headshot.
How to Edit in Aragon
- Log into your Aragon dashboard
- Open your photo collection
- Click “Edit” on any headshot
- Select the tool — Background, Clothing, Hair, or Pose
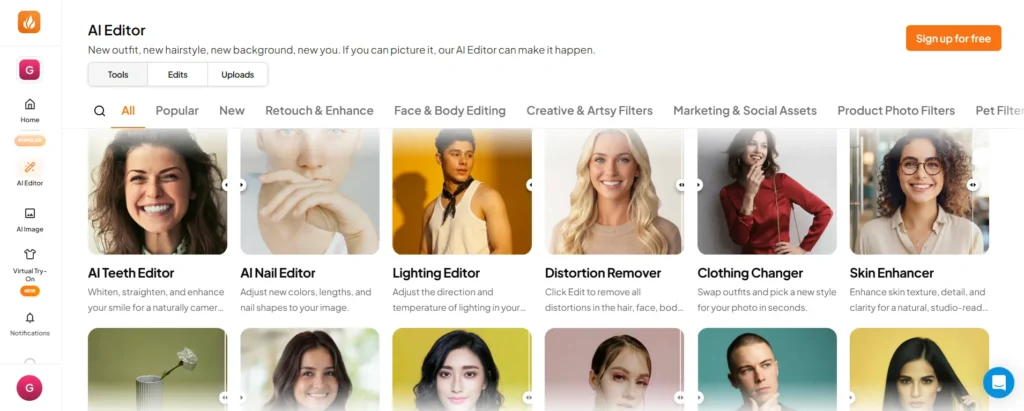
- Preview your changes in real time
- Save and download your customized version
Your original is always preserved. Edits generate new versions, so you never lose the base photo.
Third-Party Tools: When You Need More Control
Sometimes the built-in editors aren’t enough — especially for AI headshot retouching that requires precise color grading, generative inpainting, or removing complex distractions. That’s where third-party tools come in.
Adobe Lightroom — For Skin Tone & Color Correction
Lightroom is still the go-to for professional color work. For AI headshots specifically:
Best for: Photographers, anyone who wants true color accuracy, bulk edits across multiple headshots
Canva — For Fast Background Swaps & Social Use
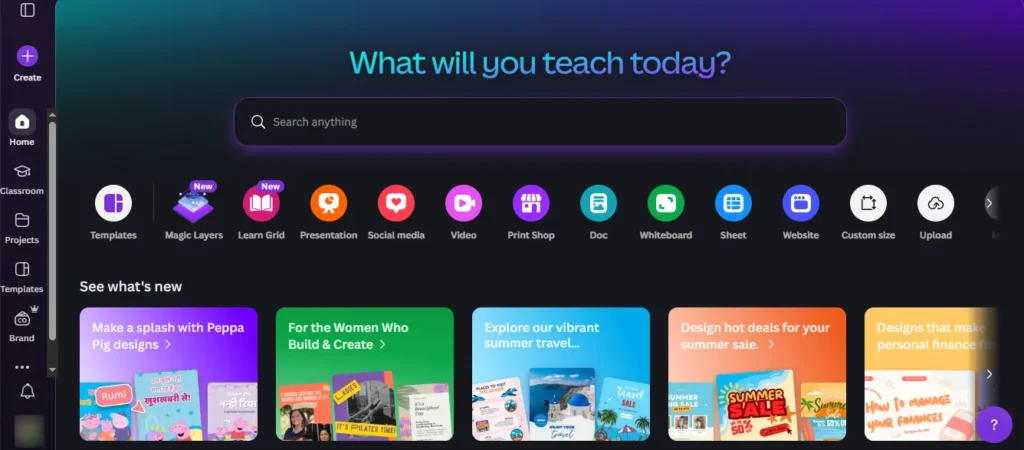
Canva’s AI tools have quietly become a solid option for quick AI headshot background changes:
Best for: Non-designers, quick social media iterations, branded versions for teams
Adobe Firefly — For Generative Clothing & Background Fixes
Firefly’s Generative Fill is purpose-built for exactly the kind of edits AI headshots often need:
Best for: Power users, content creators, anyone needing consistent visuals across a whole team or campaign
Photoshop with Neural Filters — For Advanced AI Portrait Enhancement
For the most demanding AI headshot Photoshop edits:
Fixing the 6 Most Common AI Headshot Problems
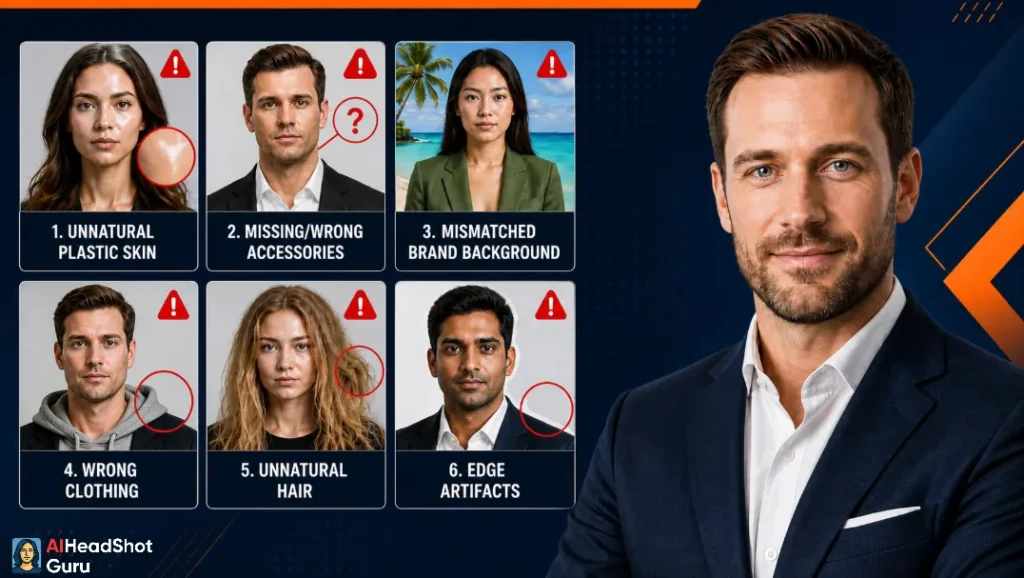
1. Skin Tone Looks Plastic or Waxy
Fix it: In BetterPic, use the Skin Corrector tool. In Lightroom, reduce Clarity slightly and pull Texture back. In Firefly or Photoshop, apply Generative Fill over the skin with a prompt for “natural skin texture.”
2. You’re Wearing Accessories You Don’t Own
Fix it: BetterPic’s Magic Eraser is the fastest route — select the accessory, erase it. For complex pieces like necklaces layered over clothing, BetterPic’s Human Edit option gives you Photoshop-level precision.
3. Background Doesn’t Match Your Brand
Fix it: Aragon’s Background Changer or BetterPic’s Change Background feature handles this in under a minute. For a custom branded background (your brand colors or a specific environment), use Canva’s Magic Edit or Firefly’s Generative Fill.
4. Wrong Outfit / Clothing Style
Fix it: Use Aragon’s Clothing Changer or BetterPic’s Change Clothing / Try-On feature. For more specific outfit prompts (exact colors, garment types), Firefly’s Generative Fill gives you text-prompt precision.
5. Hair Looks Off or Doesn’t Match Your Real Look
Fix it: Aragon’s Hair Editor is the cleanest native solution. For subtle color corrections, Lightroom’s HSL sliders work well. For major hair changes, Photoshop’s Select Subject + Generative Fill combo gives maximum control.
6. Minor AI Artifacts Around Hairline or Ears
Fix it: BetterPic’s Magic Fix handles common artifacts automatically. For persistent edge issues, use Photoshop’s Healing Brush or Clone Stamp to manually correct specific areas.
Built-In vs. Third-Party: Which Editing Approach Should You Use?
The answer depends on what you’re fixing and how much control you need:
Go with built-in tools (BetterPic/Aragon) when:
Go with third-party tools (Lightroom/Firefly/Photoshop) when:
Pro Tips for Better AI Headshot Editing Results
Frequently Asked Questions About Editing AI Headshots
Can you edit an AI headshot after it’s been generated?
What’s the best tool to change the background on an AI headshot?
How do I remove accessories from an AI headshot?
Can I change clothing on an AI headshot?
Is it possible to fix skin tone in an AI portrait?
What is BetterPic’s Human Edit feature?
Do I need Photoshop to edit AI headshots?
Will editing an AI headshot make it look less realistic?
The Bottom Line
Getting your AI portrait to actually look the way you want it isn’t about starting over — it’s about knowing which tools fix which problems. For fast, platform-consistent edits, BetterPic’s BP AI Edit and Aragon’s free editing suite handle 90% of common headshot issues.
For color precision, clothing detail, and high-end retouching, Lightroom, Canva, and Adobe Firefly fill the gaps. Layer them strategically, and your AI headshot stops looking like AI output and starts looking like a proper professional portrait.